The difference between holiday snapshots and great travel photography is your ability to capture the feel or mood of a scene rather than simply take a picture of a place.
Photography is so much more accessible and affordable than ever before. With the multitude of digital camera options available, taking home some quality travel photos as souvenirs of your adventure is certainly high on the list for many recreational travelers.
So whether you are an absolute novice or a travel enthusiast, it is likely you will be trying to capture some of the magic of your holiday in the form of photographs, be it on your trusty smartphone, a full version digital SLR, or anything in between.
An often heard complaint when travelers first view their travel photos is that the photographs simply don’t capture how wonderful the holiday was. The purpose of the simple tips below is not to turn you into a professional photographer at 10,000 feet while winging your way to your destination. It is more simply to provide you with a quick check list of very simple steps to greatly improve your photographic outcome and record your particular journey, so as on your return home from your adventures, you have some keepsakes you are truly happy with.
The great news is you can get started right now as the following checklist is divided into three parts-
- before you leave
- on your travels and
- on your return home
Before you leave
1.Preparation is key

Make sure you carry a spare battery for your camera and clean, empty memory cards – loaded into the camera and some spares. Nothing disappoints as much as simply NO travel photos because you arrived at your fabulous location to find your battery is flat or that you have no memory card or a faulty memory card.
2.Know your camera
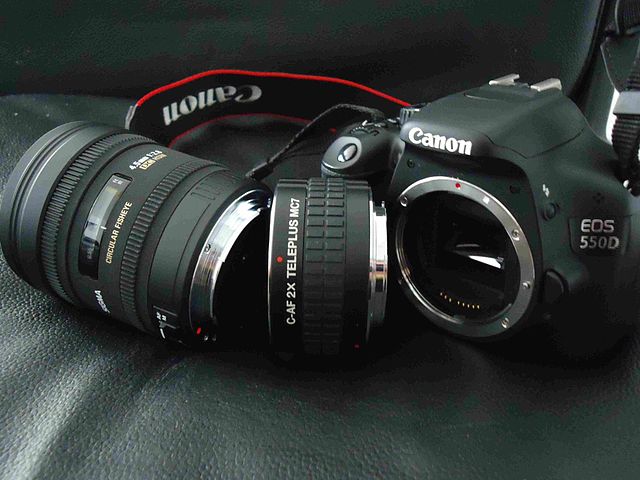
It may sound silly, but if you take a bit of time to become familiar with your chosen photographic workhorse it will pay big dividends. You don’t have to have a very expensive camera with loads of functions to get good or even great photos. What you do need is to be able to get the absolute most out of the camera you choose. One of my favorite travel photos was taken on a cheap disposable panoramic film camera. The film was grainy which gave an artistic sort of feel to the resultant photo and the framing and composition was what truly gave the resultant image the push from good to great.
The other key point here is that often travel photography involves fleeting moments or quickly passing scenes of interest. The more familiar you are with your camera the more chance you will be able to quickly respond to capture those travel moments. The other logical extension of this point is that you want to be relaxed and focused on the scenes around you. If you are preoccupied with where the different camera settings are, your attention is squarely on the camera and therefore not through the lens where it should be.
3.Consider your subject
In all that holiday planning you will have read about what awaits you at your chosen destination. Consider what aspects of the trip intrigue you, and it will give you a clear roadmap of what type of photos you will be looking to capture and will be pleased with at the end of your travels. As I mentioned earlier, the key here is to develop your ability to capture the feel or mood in a scene. Let’s explore some simple ways you can attempt to do this while you are out on your travels.
On your journey
4.Turn off your inbuilt flash
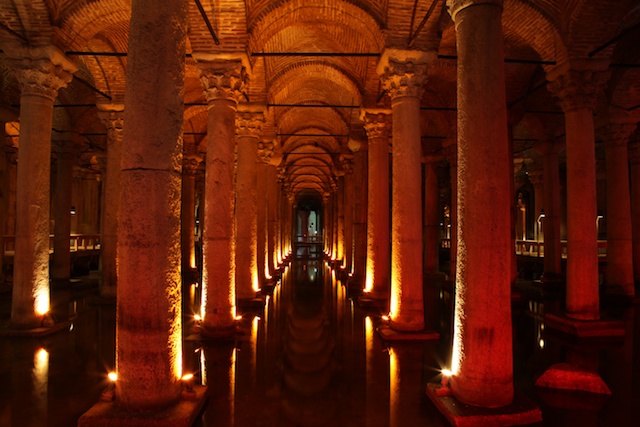
In camera-flash only effectively lights a distance of a few meters at most, and yet often you can see people taking photos of buildings or monuments with their flash firing, and all they end up with is a dark under exposed image. The flash tricks the camera into thinking it should have received enough light to adequately expose a scene as the camera does not register how little light there is available other than the flash. To adequately expose in low light conditions you need to increase the camera ISO setting (which is equivalent to the old film speed setting before the digital age) to 400, 800 or even 1200 ISO.
You will need a solid camera rest or tripod because hand-holding exposures in low light is not possible. Capturing the ambient light using this method will greatly enhance the atmosphere or mood of your image. The exception to this rule of turning off the flash would be if you wanted to capture a person in the foreground (within a few meters of the camera) with a building or landscape in the background with low light conditions. In this case you can still use the flash to light your foreground subject but keep a long exposure to adequately light the background- which also requires tripod or the camera resting without movement.
5.Rock solid
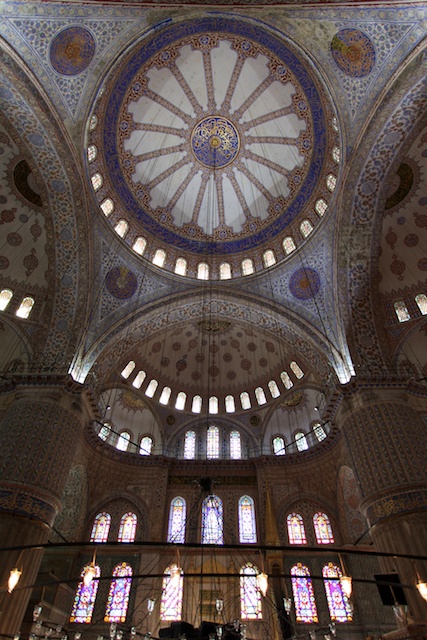
As I mentioned longer exposures can be brilliant at adding mood and feel to your image; however, they mean your photography is much more susceptible to movement and blur. You need either a tripod and a very steady shutter finger or some way to brace or rest your camera so as to completely eliminate any movement for the duration of the exposure. It is always a good idea to brace not only your camera but yourself as well. It is hard to imagine how long 15 or 30 second exposures really are until you try to stay completely immobile for the duration. If you can square your feet, lean against a pillar/ wall or railing post, keep your elbows tucked in tight to your body, and use the added stability of a building or something movement free in your environment, you stand a much better chance of capturing those great photos. I have, when pressed, placed my camera on the ground with something chocked under the lens to tilt it in the right direction and achieved completely acceptable sharp images free of movement or blur.
6.Change the way you view the world
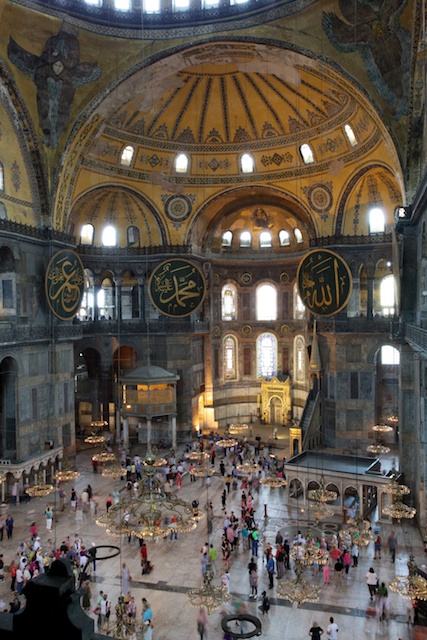
The last point introduces the fact that you can play with many interesting angles and viewpoints with your photos. Few subjects benefit from a straight on head-height approach photographically. You will be amazed how different the exact same scene can appear from down low or even ground level. So get down on your knees. By bringing the camera down lower you can include details like cobble stone paving, which help to give a scene more depth and detail and lead the viewer into your scene. Alternatively climb on a nearby wall, go up onto a higher plane- climb those 200 steps to get up to the viewing platform or bell tower if need be, if that works for you- it will pay dividends in the photographs.
7. Be patient
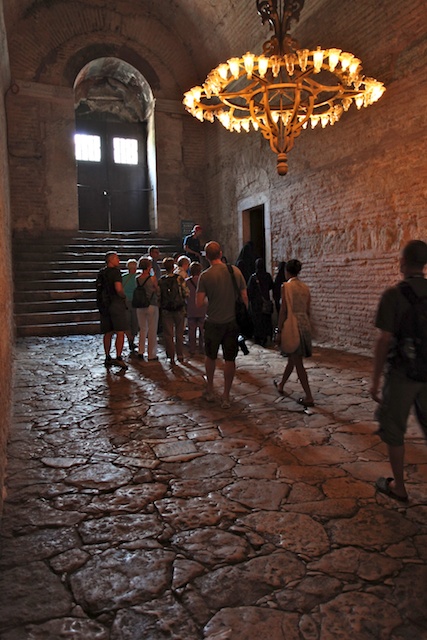
a ) Wait for that person to walk out of your shot…..
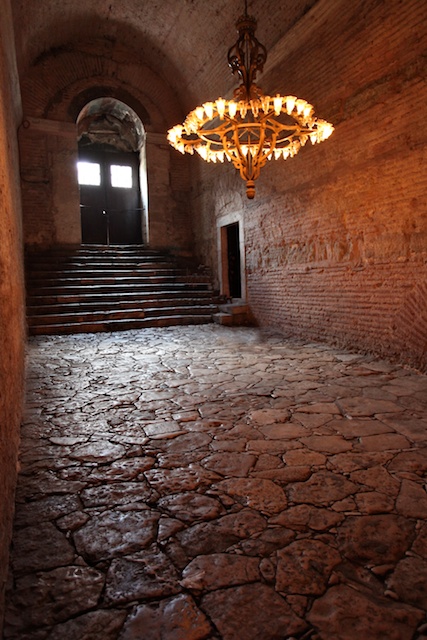
In some cases patience is rewarded, and waiting for tourists to leave your frame will make a huge difference to the feel and quality of your photo. Be mindful of not just looking through the viewfinder but seeing through your viewfinder. Sometimes you are so busy checking that you have an entire backdrop in the frame it is easy enough not to even see the bunch of tourists completely messing up the shot. So just be patient and wait for the tourists to continue on their way.
b) Wait for that person to walk into your shot……
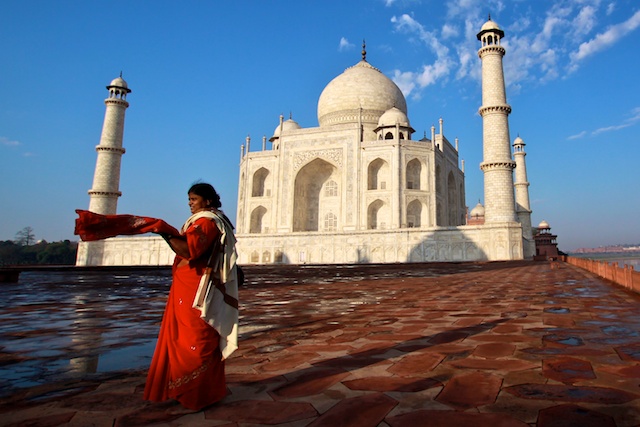
This seems a contradiction of the last point but just consider for a moment. We have just said we want those tourists out of frame to unclutter your view; however, in other cases it can certainly add a great deal to a scene to include people, particularly if they are local to an area and are wearing some kind of distinctive apparel. It is a good idea, and far less intrusive, to find somewhere quiet to sit with a nice backdrop or scene in view (enjoy a nice coffee or cool drink) , so you can wait for a local to wander into your photo. This will help you to develop a much better feel for your location than chasing someone down the street trying to manipulate a suitable composition in your photo.
Some people love capturing local people in their travel photography, others love the landscapes and architecture. There is no right or wrong approach to what you will personally get out of a holiday ,and the same applies to your photos. If taking 589 photos of every aspect of the blue mosque intrigues you, then you will likely be happy interpreting your holiday and framing it that way in your lens. You may be willing to wait for long periods of time to capture the scene devoid of distracting “people.” Your friend; however, might interpret the same scene in a very different way by giving context to it by deliberately framing and including worshipers in the scene. If you know you like “people free photos,” then be prepared to head out safely at hours you will be more likely to get satisfaction from your photography – early morning or late evening rather than the middle of the day. You may need to be relatively flexible in this approach if you happen to be booked on a bus tour, where inevitably schedules dictate the time available at a particular landmark. So the main insight here is to think about what kind of images you like and hope to capture before you even turn on your camera, then work to make them happen!
8.Zoom in & Zoom out
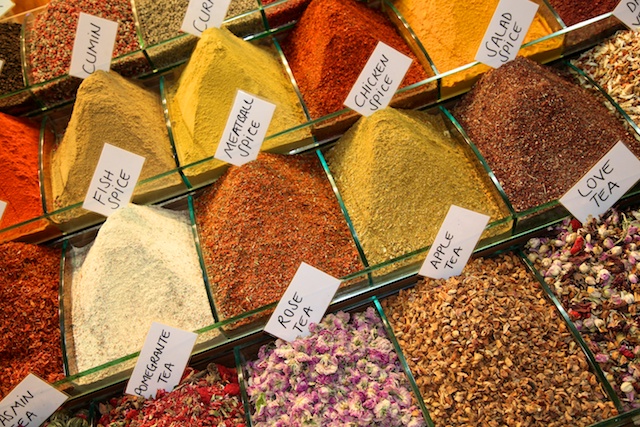
The human eye is incredible in that we can quickly change from viewing an entire scene, then rapidly change to focus in on specific details. When we combine both of these aspects in our mind, we build up an impression of a place, scene, or experience. One single shot will rarely tell an entire story. Think about this when you set about capturing your holiday experience. Take a mix of overview shots supplemented with a host of detail photos. For example, if you are wandering a market place, take several shots to document the walkways and overall setting, then a number of detail photos demonstrating the specifics of what is on sale- from exotic foods to local handicrafts.
Once you are home
9.Edit, edit, edit
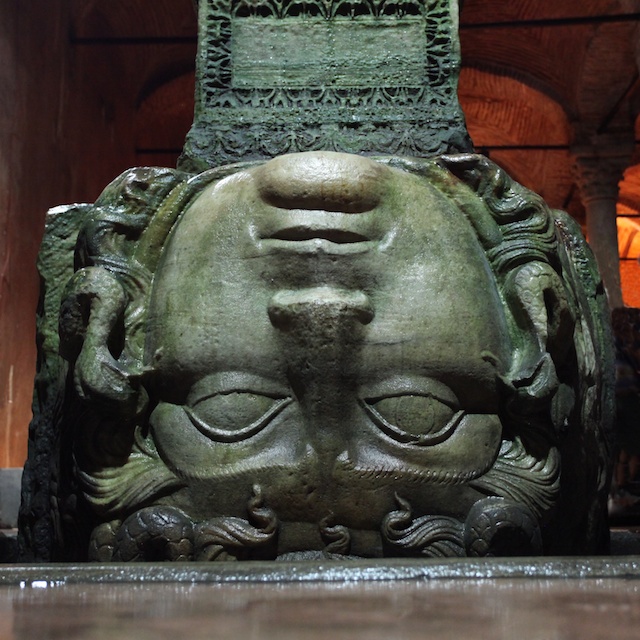
Explore the crop function. You can change a mediocre photo into a winner by cropping out distracting areas. It is not always possible in field to eliminate distracting elements, but with a few minutes you can easily remove them after the fact with basic software.There are many digital tools out there that will help you post process your holiday snaps into masterpieces. If you don’t already have one, then look online for a free download.
You can also give some of your photos a more modern twist by cropping to non-standard formats- crop to a square or panorama instead of the standard 2:3 format. Most photo developing websites/retailers now offer these formats for printing as well.
Adjust exposure if, despite your best efforts, some of those shots just didn’t end up correctly exposed. Maybe because there was one area, such as a window, that was too bright and threw out the cameras sensor. You can very easily increase or decrease exposure by several stops in most photo editing software and redeem those “not quite right” pictures. Have a play and get to know the software you have- it is designed to be really easy to use, takes very little time, and you can even control things like straightening the horizon, boosting shadow areas, reigning in highlights, or even adjusting the color.
10. Presentation is key
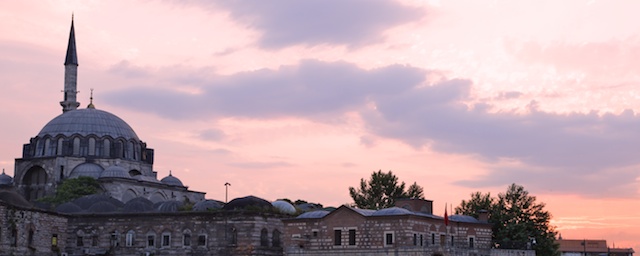
Once you have thinned down the remaining hundreds into a core of quality meaningful shots, consider printing your own keepsake album. There are many, many websites and retailers who offer custom printed and bound books. These fit a very large number of photos in a manageable space, allowing you the option of adding your own text for those precious memories and insights gathered during your travels, and provide a quality method of displaying your now much improved travel photography. Your friends will love browsing a coffee table book of your adventure.
We know there are many advantages of digital photography, one of which is we are no longer restricted by a limited number of frames on a roll of film. As a result it is not at all uncommon to return home from a vacation with photos numbering in the hundreds and even thousands. How do you display or share those precious holiday snaps? Choose a couple to frame- your absolute favorites to display in your home.
Kathryn Weir is a wife and mother and has lived abroad in Australia, Hong Kong, and England and is passionate about travel photography. A selection of her photographs are now available through her website at www.triptychphotoart.com
Photo credits: Gohnarch, WikipedianJones, all other photos courtesy of the author and may not be used without permission.